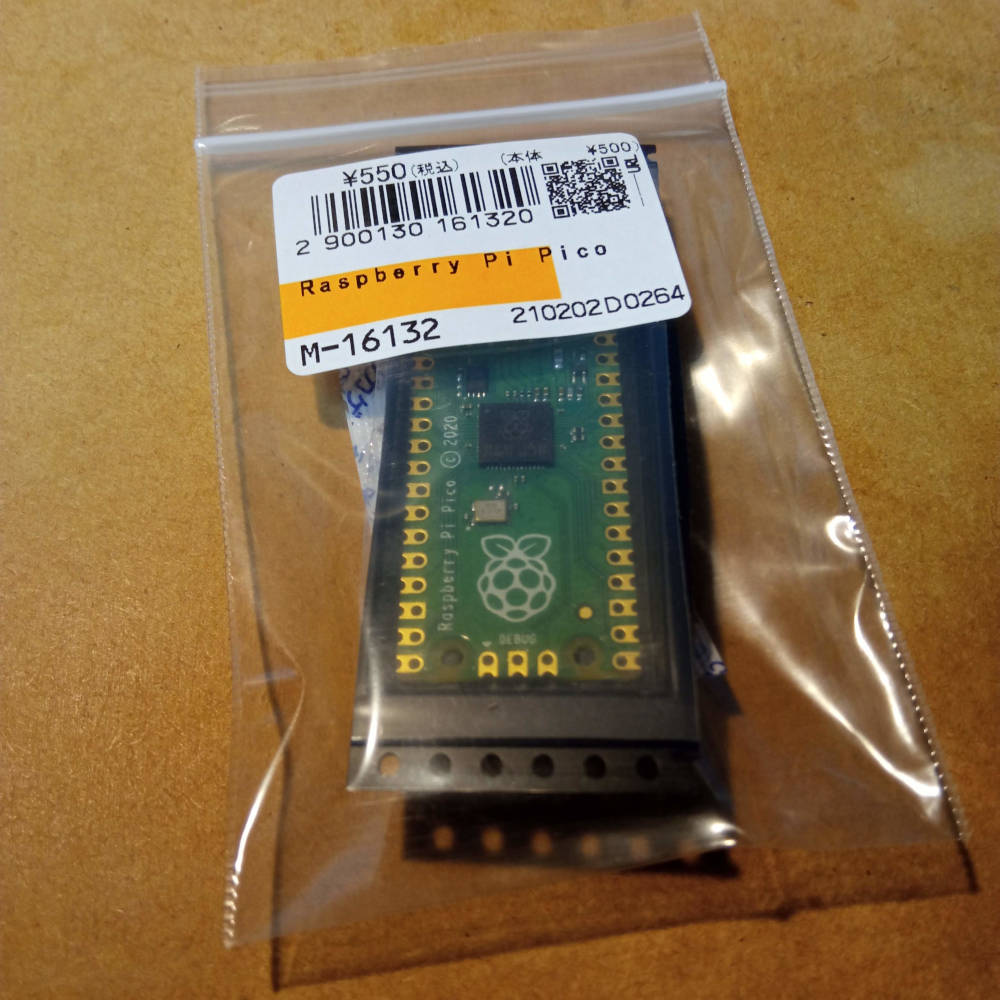
やっとRaspberry Pi Picoを手に入れました。
とりあえずC/C++でLチカしてみました。環境はLinux Mint 20 64bit、Ryzen3 3100 + 16GBです。
・・・といっても、瞬時に終わってしまいました。基本的には

の「getting started」に沿って行うだけです。
「2.1. Get the SDK and examples」に従い、SDKとexampleをダウンロードします。
~/pico$ git clone -b master https://github.com/raspberrypi/pico-sdk.git
Cloning into 'pico-sdk'...
remote: Enumerating objects: 248, done.
remote: Counting objects: 100% (248/248), done.
remote: Compressing objects: 100% (145/145), done.
remote: Total 1292 (delta 51), reused 160 (delta 36), pack-reused 1044
Receiving objects: 100% (1292/1292), 1.07 MiB | 1.23 MiB/s, done.
Resolving deltas: 100% (362/362), done.
~/pico$ cd pico-sdk
~/pico/pico-sdk$ git submodule update --init
Submodule 'tinyusb' (https://github.com/raspberrypi/tinyusb.git) registered for path 'lib/tinyusb'
Cloning into '/home/xxx/pico/pico-sdk/lib/tinyusb'...
Submodule path 'lib/tinyusb': checked out 'e0aa405d19e35dbf58cf502b8106455c1a3c2a5c'
~/pico/pico-sdk$ cd ..
~/pico$  git clone -b master https://github.com/raspberrypi/pico-examples.git
Cloning into 'pico-examples'...
remote: Enumerating objects: 450, done.
remote: Total 450 (delta 0), reused 0 (delta 0), pack-reused 450
Receiving objects: 100% (450/450), 2.20 MiB | 1.79 MiB/s, done.
Resolving deltas: 100% (108/108), done.
~/pico$
「2.2. Install the Toolchain」に従って、ツールチェーンをインストールします。これもダウンロードサイズが大きいもののすぐに終わります。
~/pico$ sudo apt update
~/pico$ sudo apt upgrade
~/pico$ sudo apt install cmake gcc-arm-none-eabi libnewlib-arm-none-eabi build-essential
以降はChapter.3に従ってLチカをビルドします。
まず、ビルドディレクトリを用意して環境変数を設定、ビルド用の環境を構築します。これもすぐに終わります。
~/pico$ cd pico-examples/
~/pico/pico-examples$ mkdir build
~/pico/pico-examples$ cd build
~/pico/pico-examples/build$ export PICO_SDK_PATH=../../pico-sdk
~/pico/pico-examples/build$ cmake ..
Using PICO_SDK_PATH from environment ('../../pico-sdk')
PICO_SDK_PATH is /home/xxx/pico/pico-sdk
Defaulting PICO_PLATFORM to rp2040 since not specified.
Defaulting PICO platform compiler to pico_arm_gcc since not specified.
-- Defaulting build type to 'Release' since not specified.
PICO compiler is pico_arm_gcc
PICO_GCC_TRIPLE defaulted to arm-none-eabi
-- The C compiler identification is GNU 9.2.1
-- The CXX compiler identification is GNU 9.2.1
-- The ASM compiler identification is GNU
-- Found assembler: /usr/bin/arm-none-eabi-gcc
Defaulting PICO target board to pico since not specified.
Using board configuration from /home/xxx/pico/pico-sdk/src/boards/include/boards/pico.h
-- Found Python3: /usr/bin/python3.8 (found version "3.8.5") found components: Interpreter
TinyUSB available at /home/xxx/pico/pico-sdk/lib/tinyusb/src/portable/raspberrypi/rp2040; adding USB support.
-- Could NOT find Doxygen (missing: DOXYGEN_EXECUTABLE)
ELF2UF2 will need to be built
PIOASM will need to be built
-- Configuring done
-- Generating done
-- Build files have been written to: /home/xxx/pico/pico-examples/build
~/pico/pico-examples/build$
Lチカをコンパイルします。これもすぐに終わります。
~/pico/pico-examples/build$ cd blink
~/pico/pico-examples/build/blink$ make -j4
Scanning dependencies of target ELF2UF2Build
Scanning dependencies of target bs2_default
[  0%] Creating directories for 'ELF2UF2Build'
(中略)
[100%] Building C object blink/CMakeFiles/blink.dir/home/xxx/pico/pico-sdk/src/rp2_common/pico_stdio_uart/stdio_uart.c.obj
[100%] Linking CXX executable blink.elf
[100%] Built target blink
~/pico/pico-examples/build/blink$
このディレクトリに生成された blink.uf2 がRaspberry Pi Picoに書き込むファイルです。
これをRaspberry Pi Picoを接続すると開くRPI-RP2ディレクトリにドラッグアンドドロップをすると、Lチカが始まります。2回目以降は、基板上のBOOTSELスイッチを押しながら接続すると、RPI-RP2ディレクトリが開きます。
わかってしまえば、10分もあれば終わってしまう作業です。環境がしっかりしているというのがRaspberry Pi系のありがたいところです。

