16. クライアントによって異なる動作をさせる
GETメソッドのパラメータが扱えることがわかったので、これで区別させてみたいと思います。まずは適当な作業用のディレクトリを作ります。
~/heroku $ mkdir hello-heroku2
~/heroku $ cd hello-heroku2/
次にソースコードを準備します。内容は下記の通りでhello2.jsという名前で保存します。
var express = require("express");
var app = express();
var hold = undefined;

app.get('/', function(request, response) {
    console.log(request.query); // for logging
    var data = request.param('DATA');
	if(data){
        hold = data;
	    response.send('データを受け付けました<BR />'
            + '受信したデータは' + hold + 'です。<BR />');
    } else {
        if(hold){
            response.send(
                  '最後に受信したデータは' + hold + 'です。<BR />');
        } else {
            response.send(
                  'まだ受信したデータがありません<BR />');
        }
    }
})
次に、package.jsonファイルを作成します。
{
  "name": "hello-heroku2",
  "version": "0.0.1",
  "dependencies": {
    "express": "4.13.x"
  },
  "engines": {
    "node": "0.10.x",
    "npm": "1.4.x"
  }
}
これまでの例と名前の部分しか変わっていません。
作成したら、npmで必要なパッケージをインストールします。
~/heroku/hello-heroku2 $ npm install
次にProcfileを用意します。これはファイル名に合わせて修正します。
web: node hello2.js
ローカルでアプリを動かしてみます。
~/heroku/hello-heroku2 $ foreman start
17:37:45 web.1  | started with pid 7322
17:37:45 web.1  | Listening on 5000
ブラウザで「http://localhost:5000/」にまだデータがない旨、表示されます。次に「http://localhost:5000/?DATA=100」としてアクセスした後、再度「http://localhost:5000/」にアクセスすると、セットした値(100)が表示されます。
次にherokuの作成済みのリポジトリにデプロイしてみます。
~/heroku/hello-heroku2 $ git init
Initialized empty Git repository in /home/xxx/heroku/hello-heroku2/.git/
~/heroku/hello-heroku2 $ heroku git:remote -a whispering-basin-7319
set git remote heroku to https://git.heroku.com/whispering-basin-7319.git
~/heroku/hello-heroku2 $ git add .
~/heroku/hello-heroku2 $ git commit -am "1st edtion"
[master (root-commit) be8f876] 1st edtion
 (途中略)
 create mode 100644 package.json
~/heroku/hello-heroku2 $ git push heroku master
Counting objects: 300, done.
 (途中略)
To https://git.heroku.com/whispering-basin-7319.git
 * [new branch]      master -> master
~/heroku/hello-heroku2 $
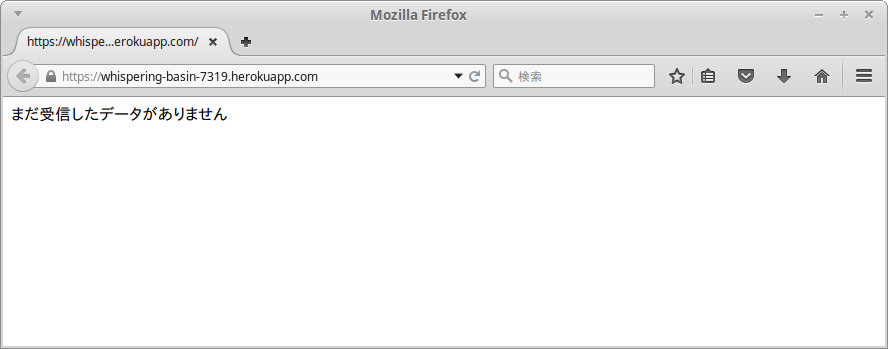
「$ heroku open」として、動作確認してみます。
起動した直後なのでデータがない状態です。
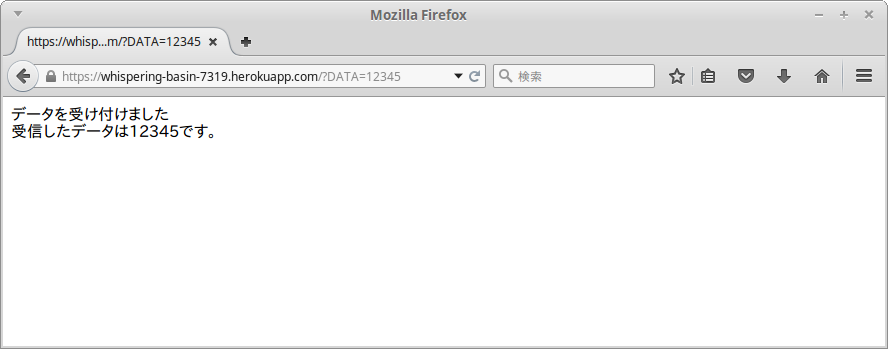
次に、URLを「https://whispering-basin-7319.herokuapp.com/?DATA=12345」としてみます。
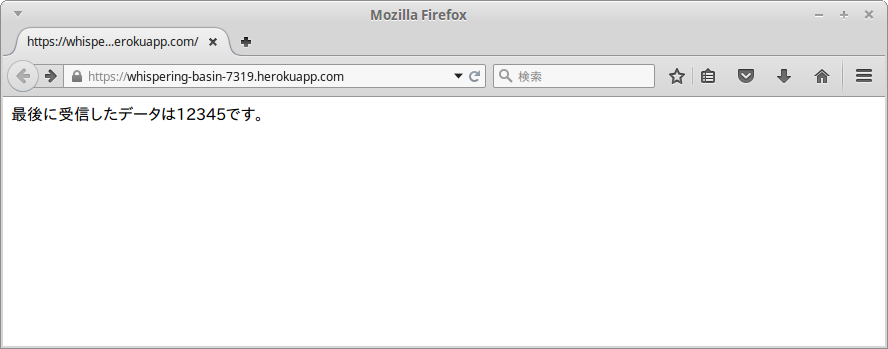
データが設定できました。URLを元に戻してリロードし、記憶しているか確認してみます。
データがherokuのサーバ側に記憶されていることが確認できました。


